
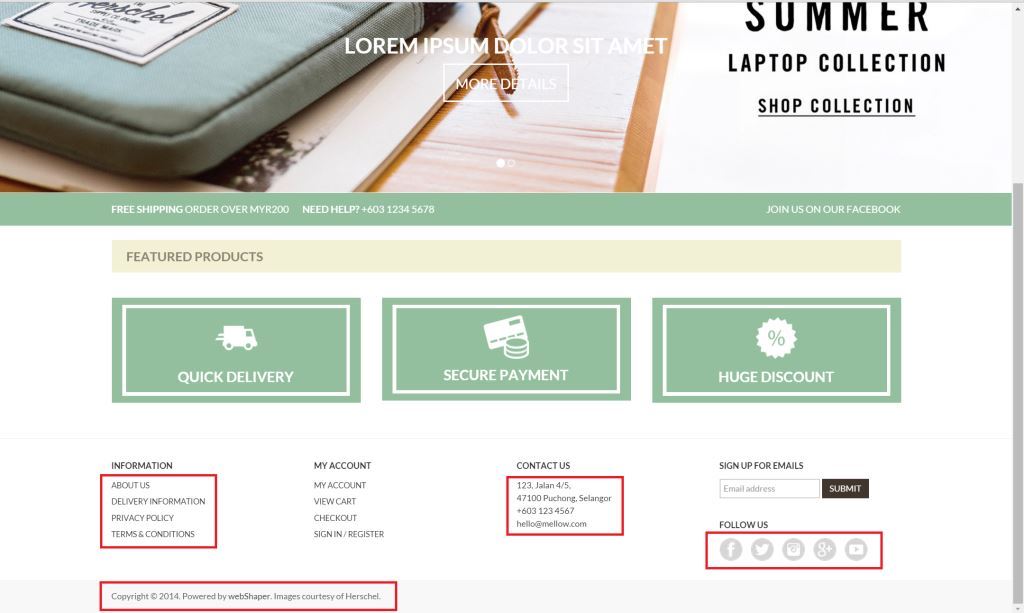
You can edit your website footer to include any information that you want your customers to see. The image below shows all the information (Information section, Contact Us section, Follow Us section and Copyright section) that you will be able to edit yourself.
So, how can you do that?
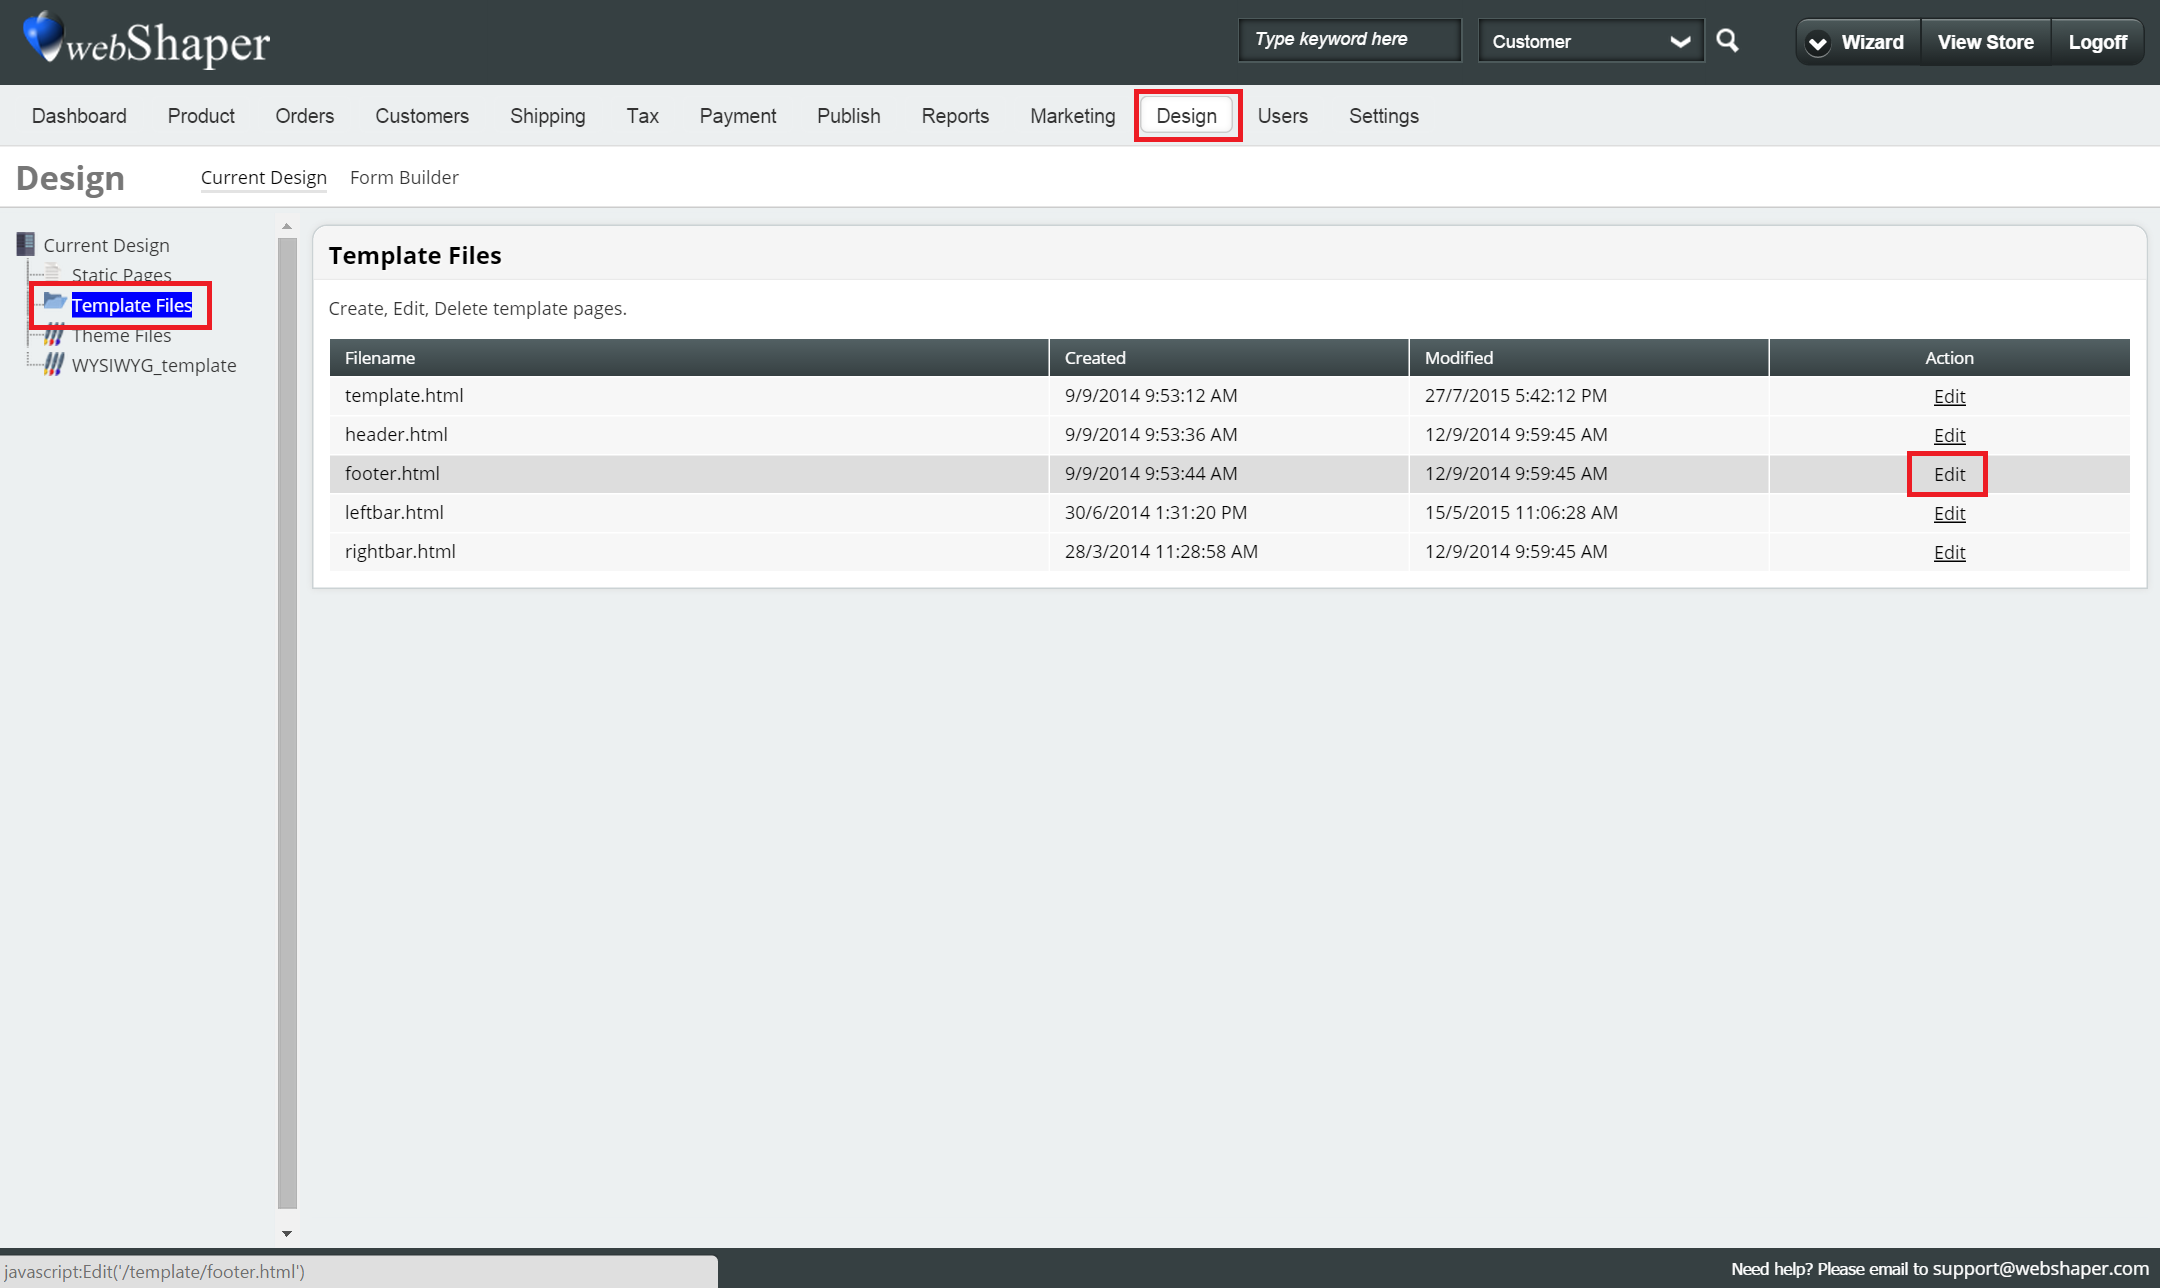
- Go to Design.
- Click on Template Files.
- Move your mouse to footer.html and click on Edit to edit the source code.
Important Notice :Please save a copy of the original source code before you proceed with the next steps.
To edit the Information section:
1. Go to Information section of the code.
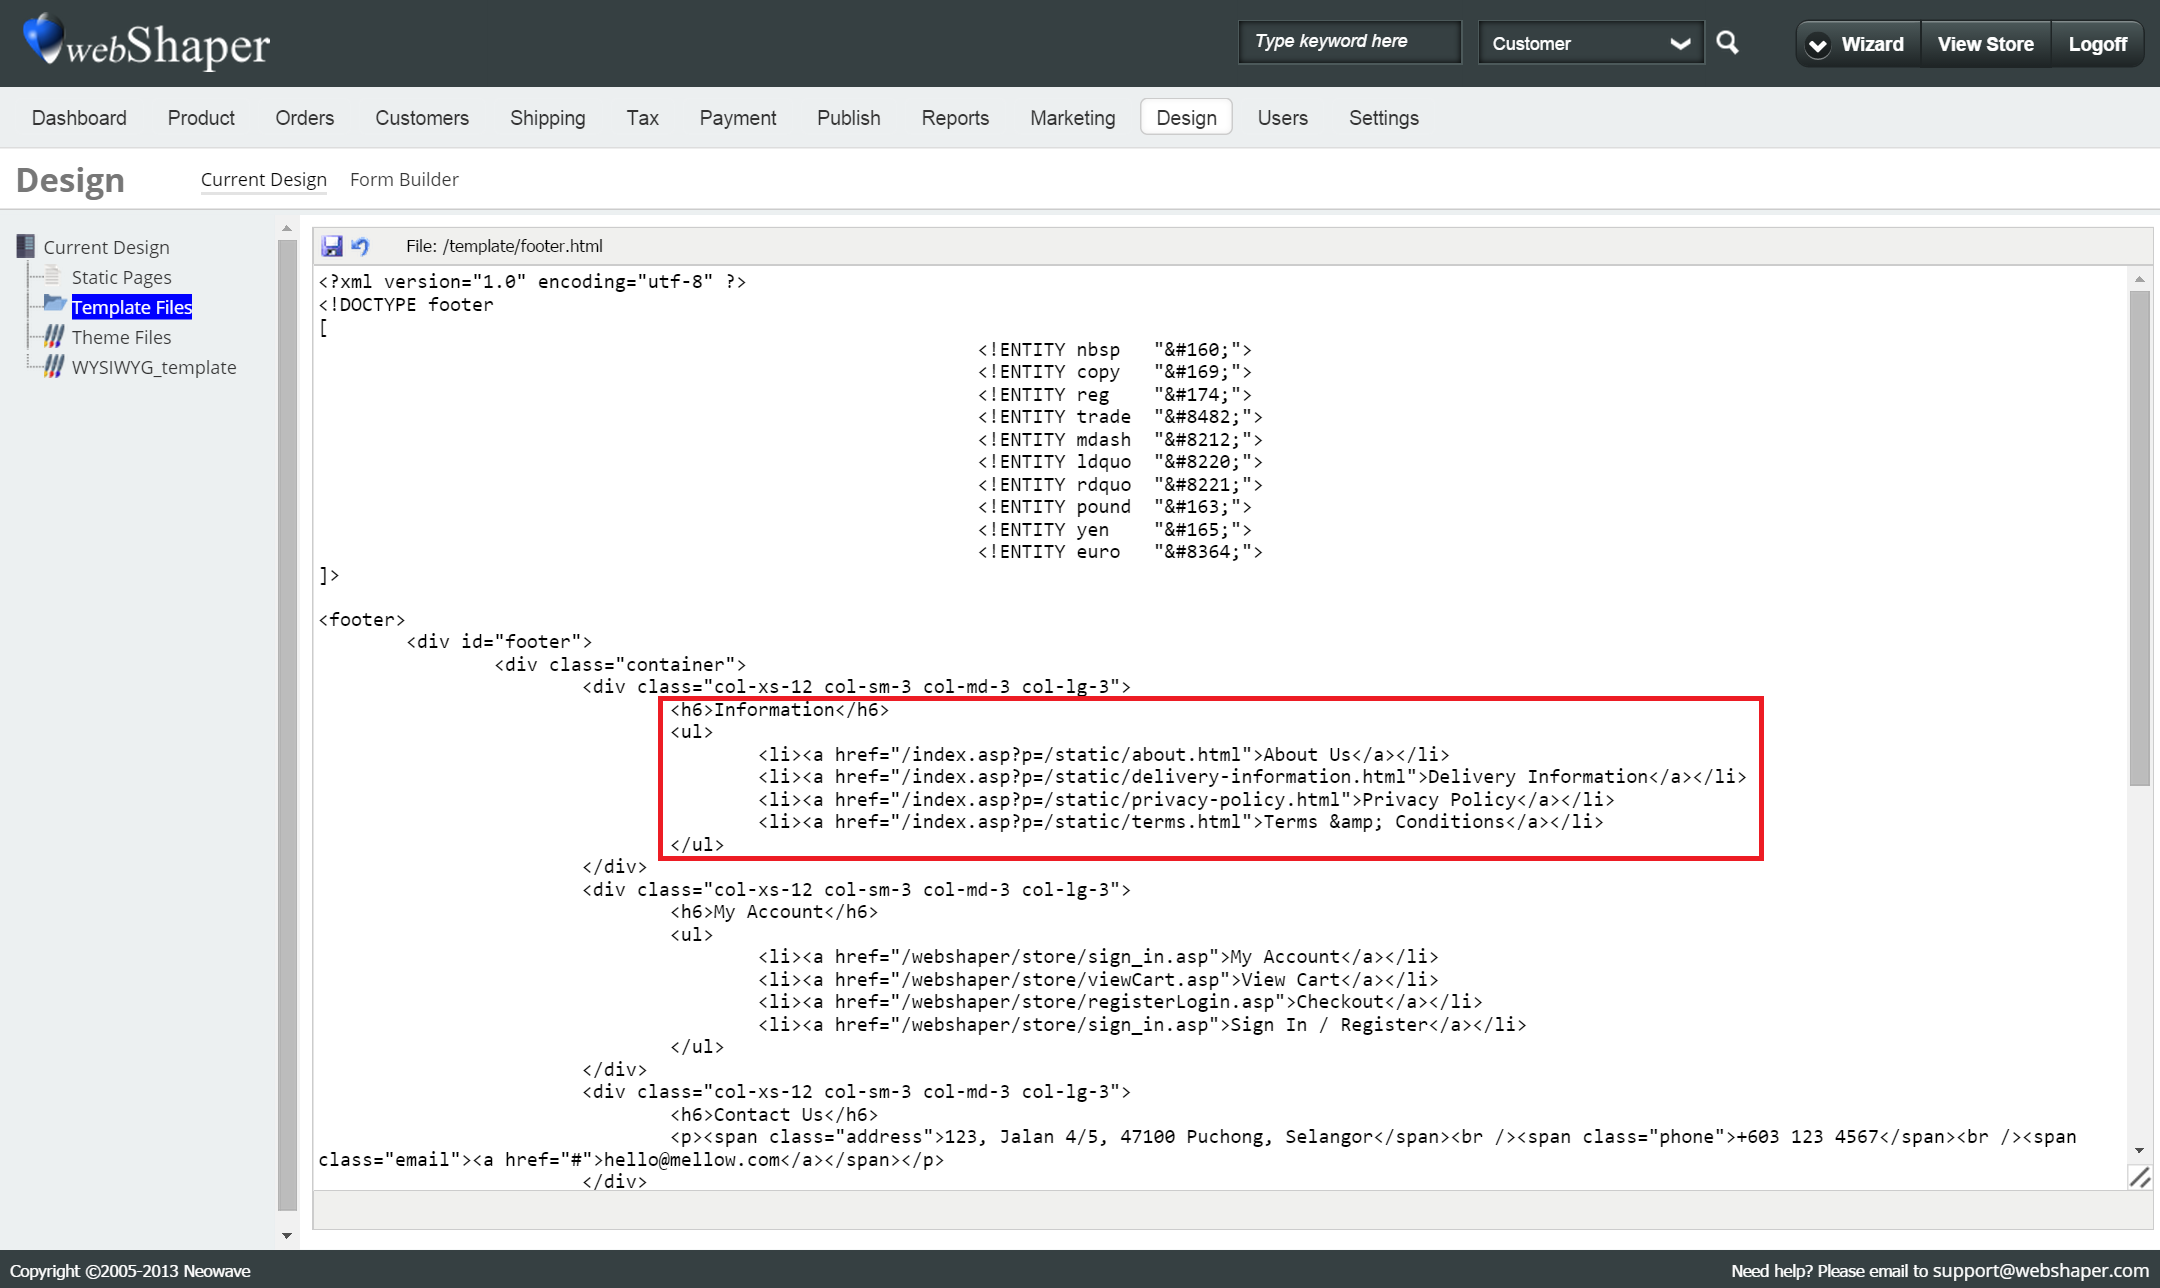
2. Every <li> has a link to other static pages in you website. You can first learn how to create a static page here. Based on the image above, we have four different links that will lead customers to the About Us, Delivery Information, Privacy Policy and Terms & Conditions page.
3. Every <li> structure is standardised whereby it will first include the link and then the name of the link to your static page. You will need to make changes to the codes here based on the image below.
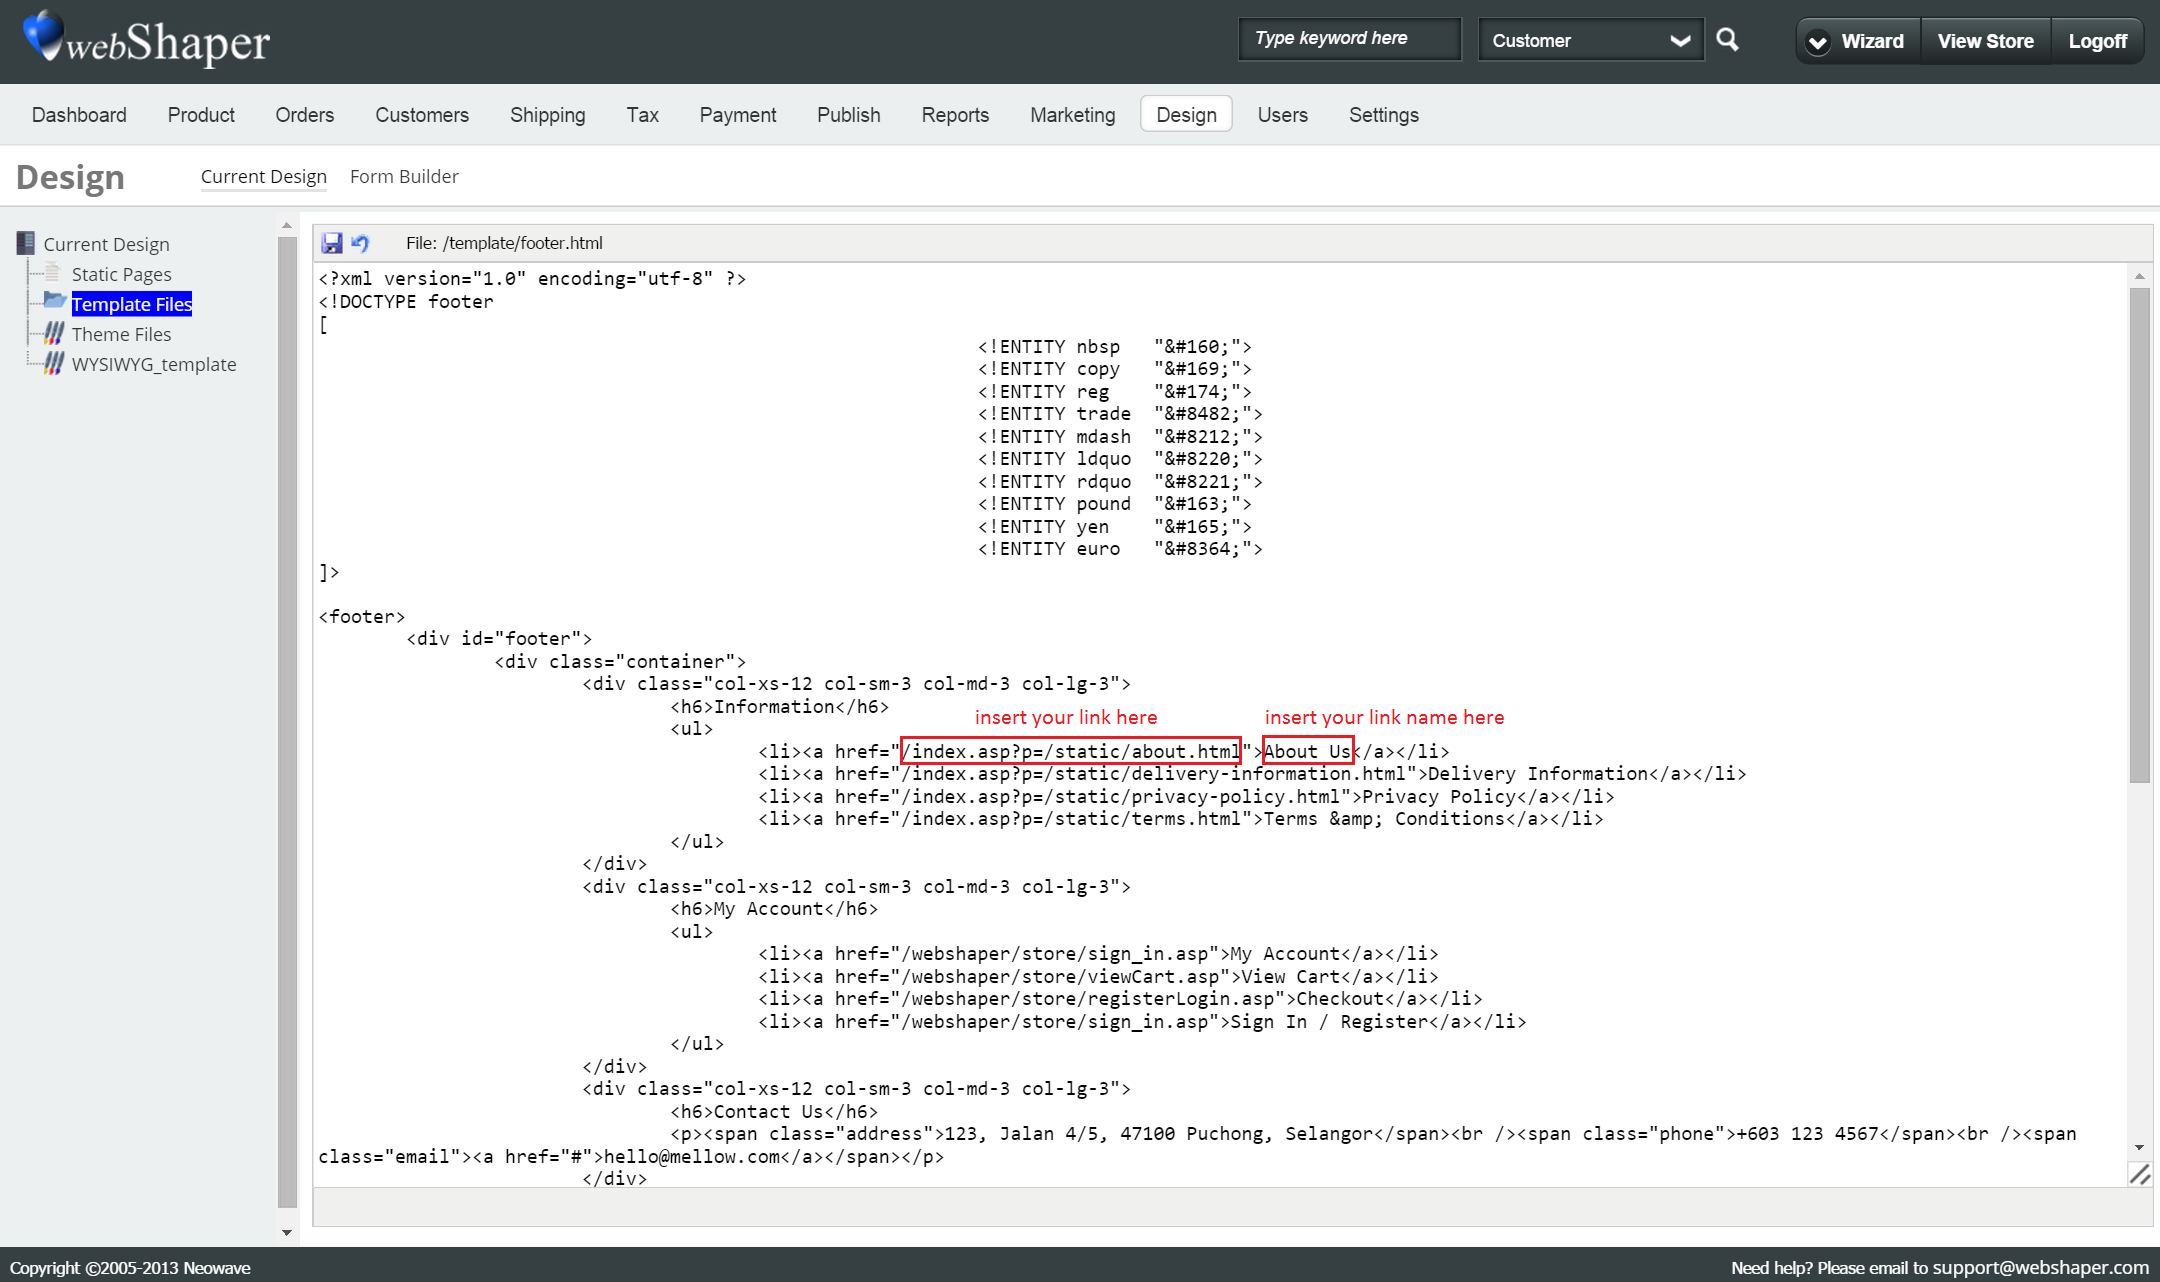
Note That: If you do not need one of the link (eg: Register), just delete the whole line from <li> to </li>. Likewise, if you need to add extra link, just copy and paste the whole line from <li> to </li> and make your changes.
To edit the Contact Us section:
1. Go to Contact Us section of the code.
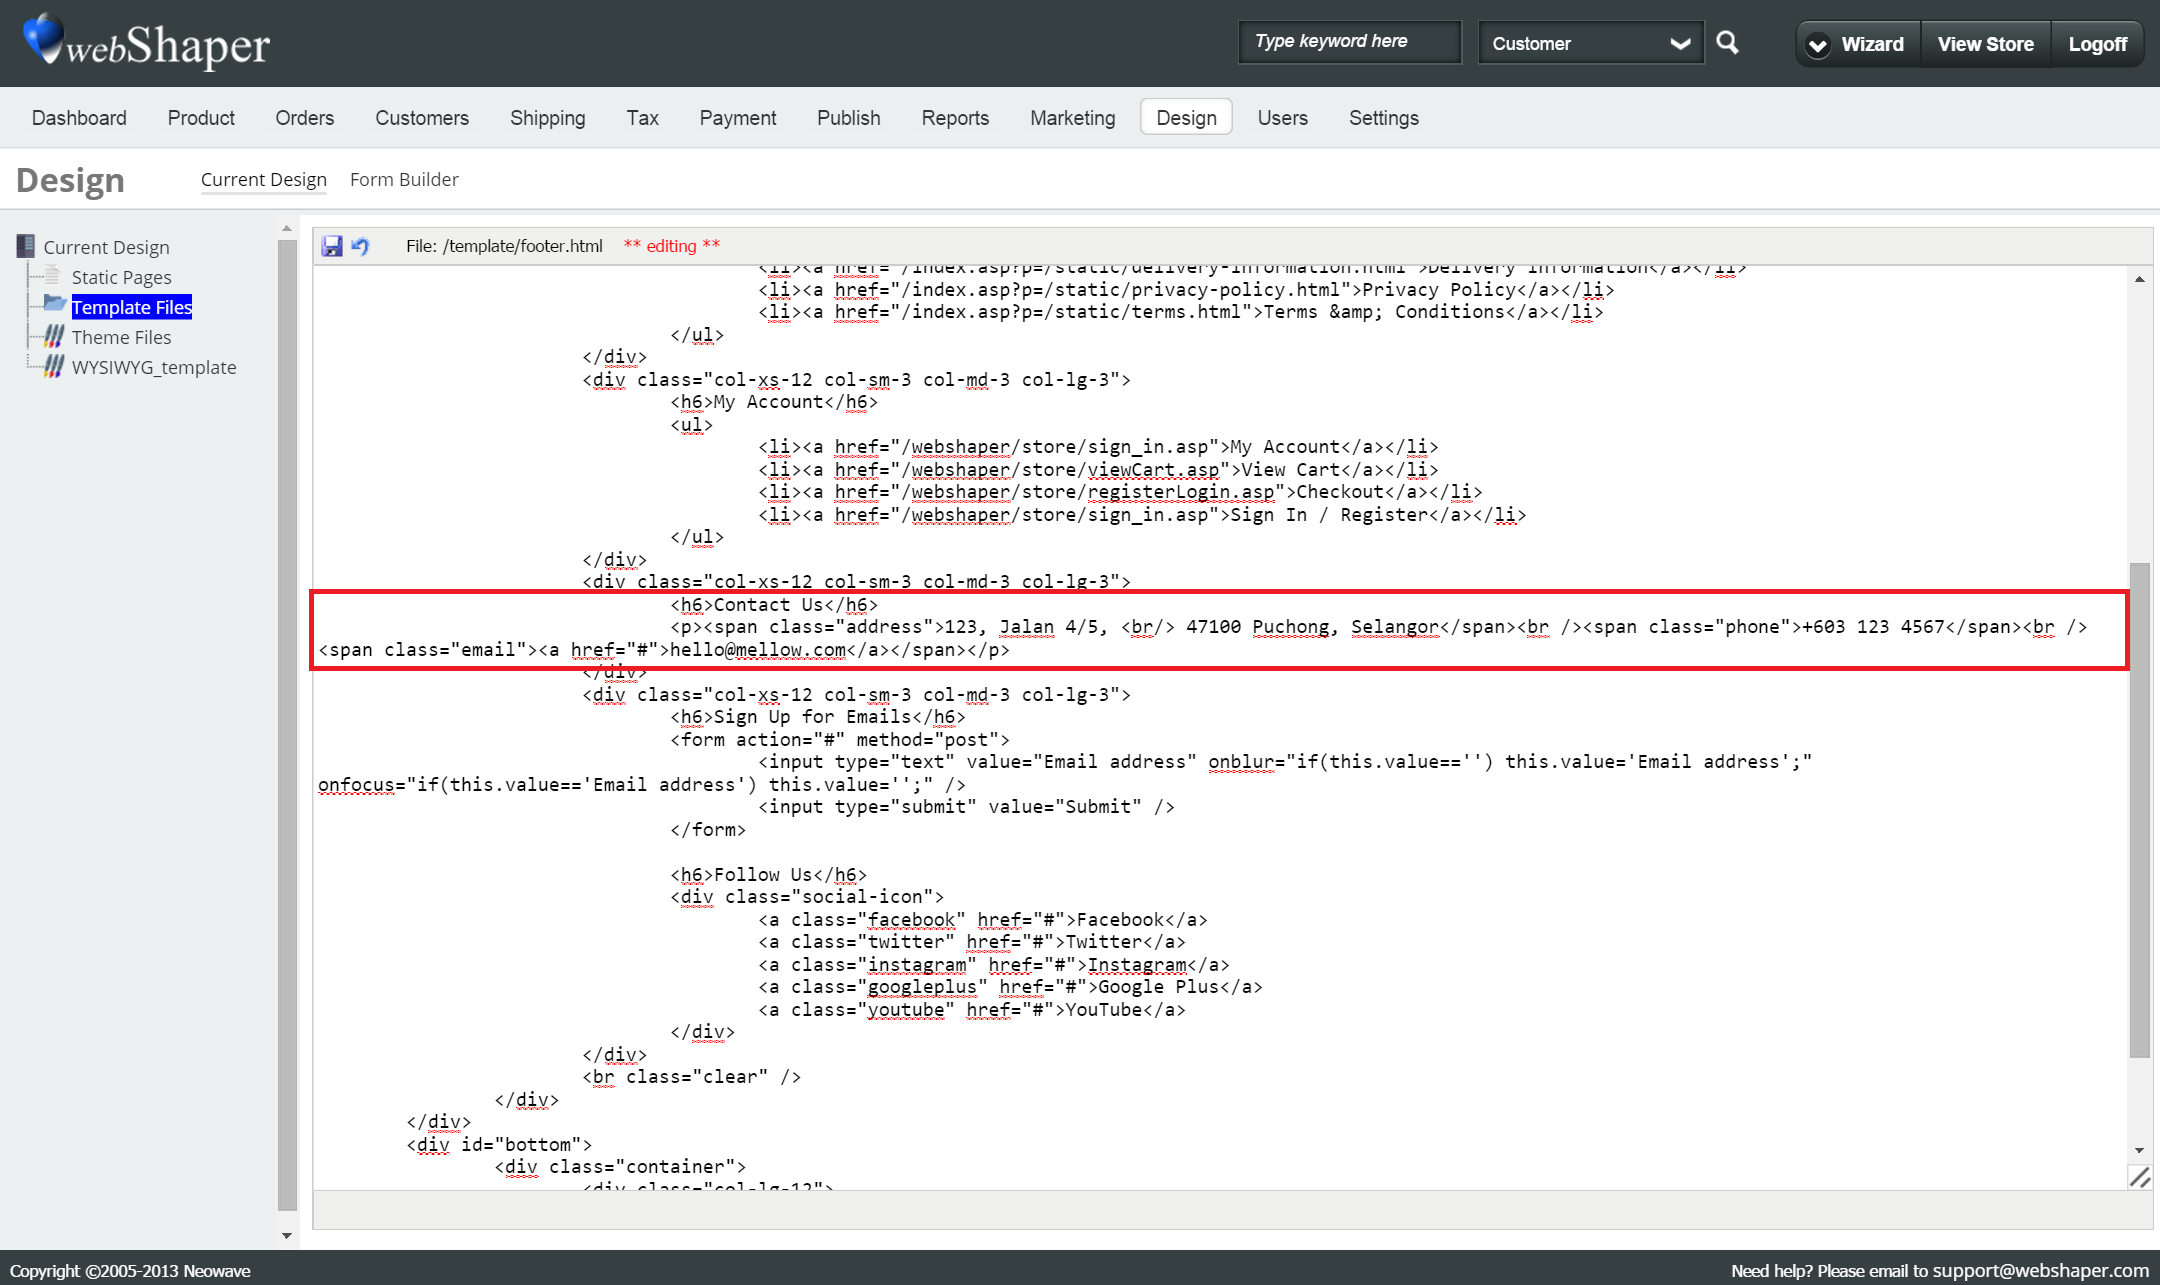
2. The Contact Us section consist of your company address, telephone number and email address which you can easily edit yourself by referring to the image below.
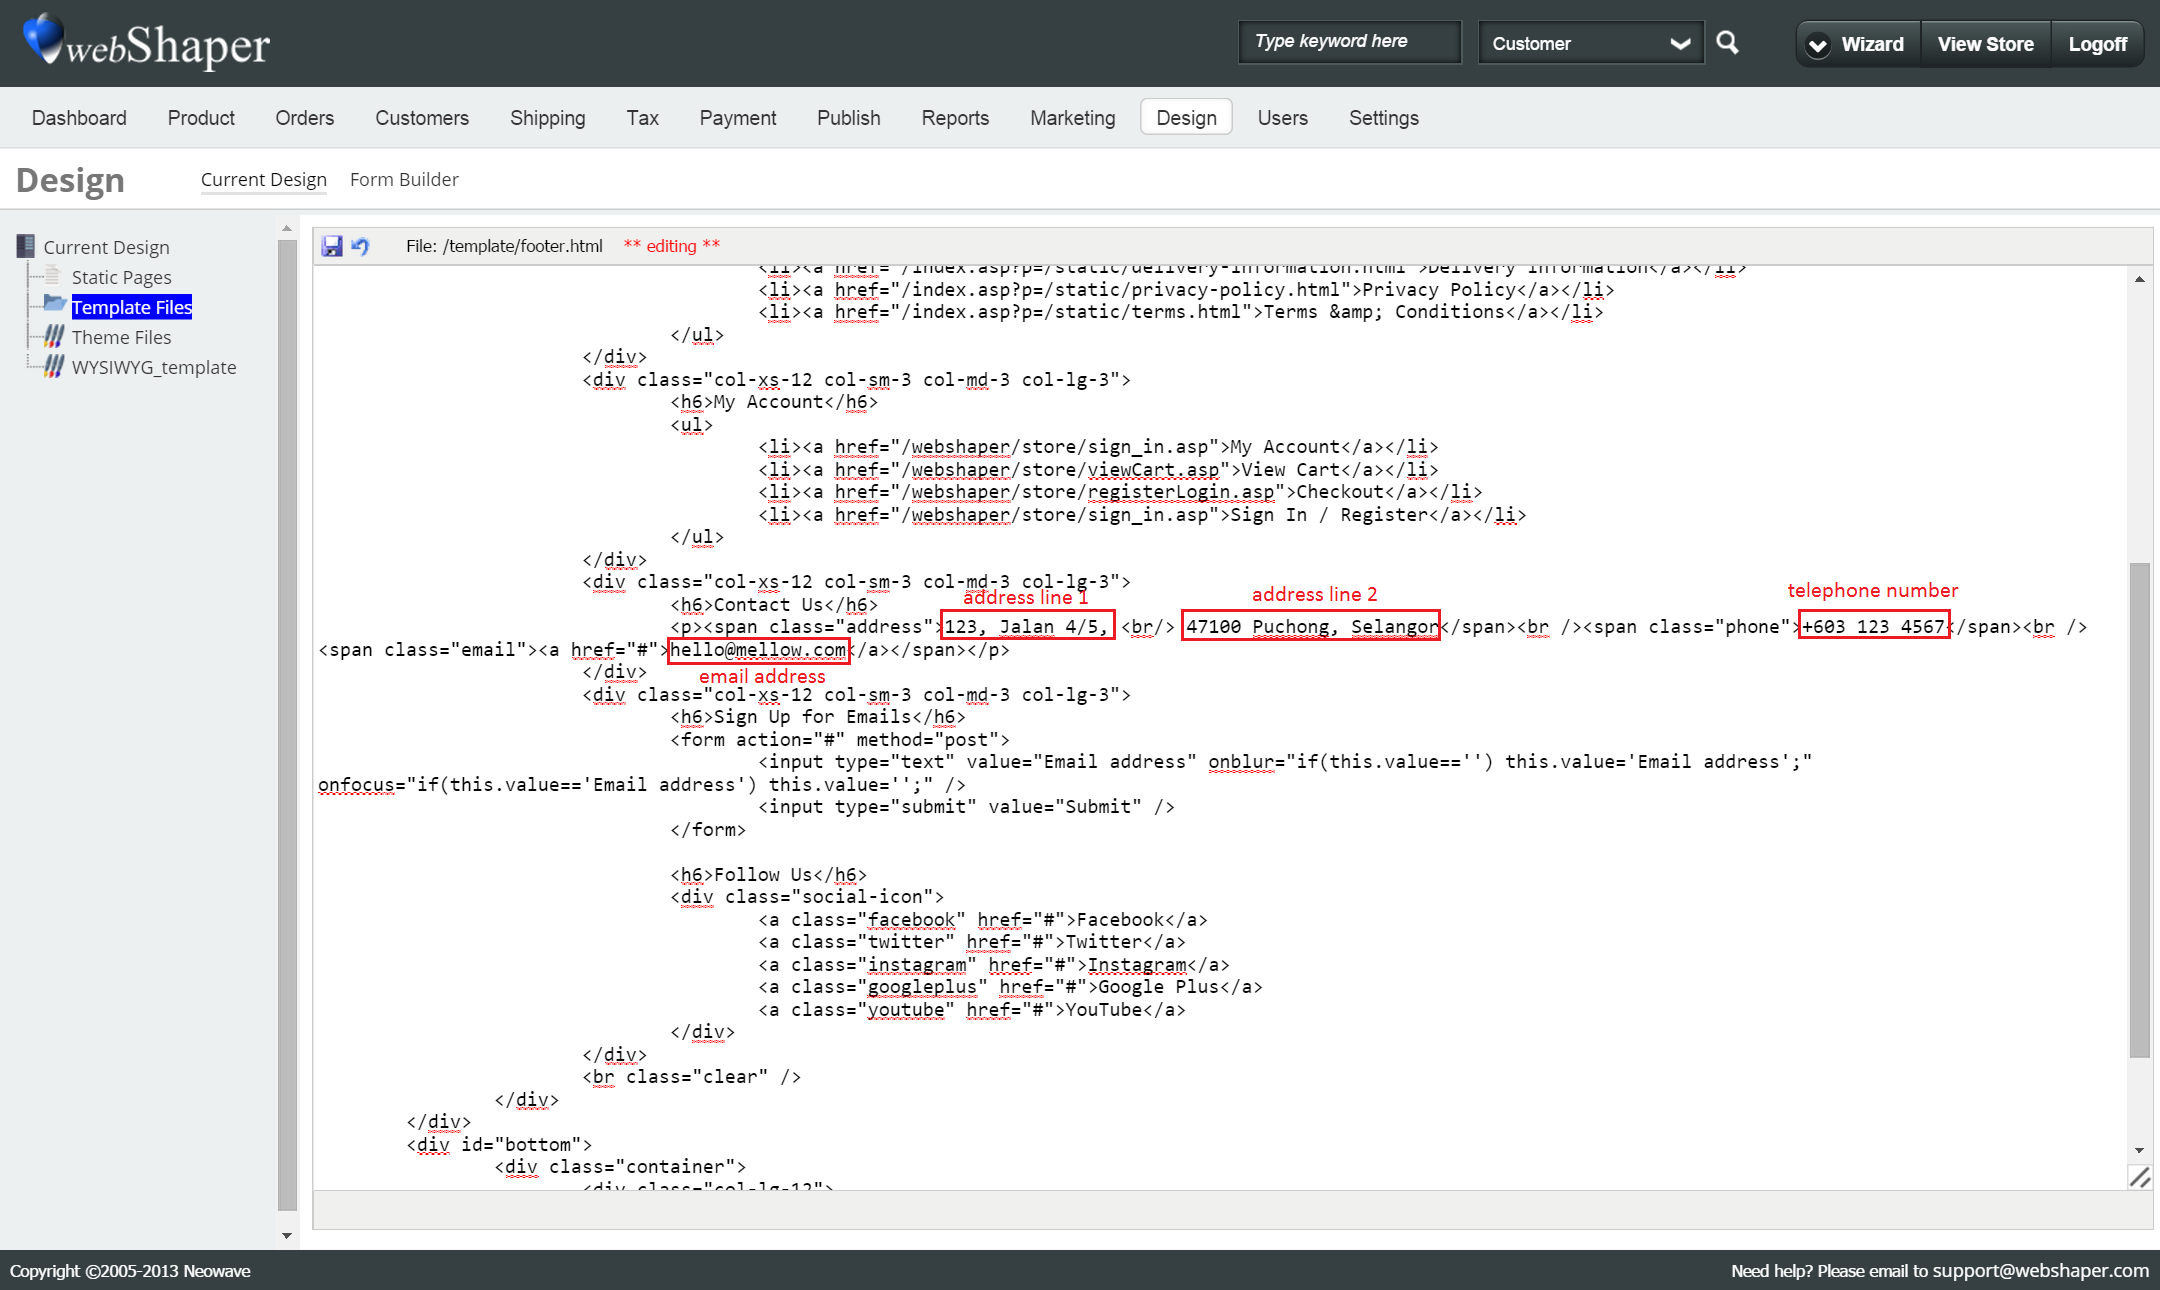
Note That: If you need to add extra lines in your contact us section (eg: address line 3), just add <br/> after your address line 2, right before your address line 3.
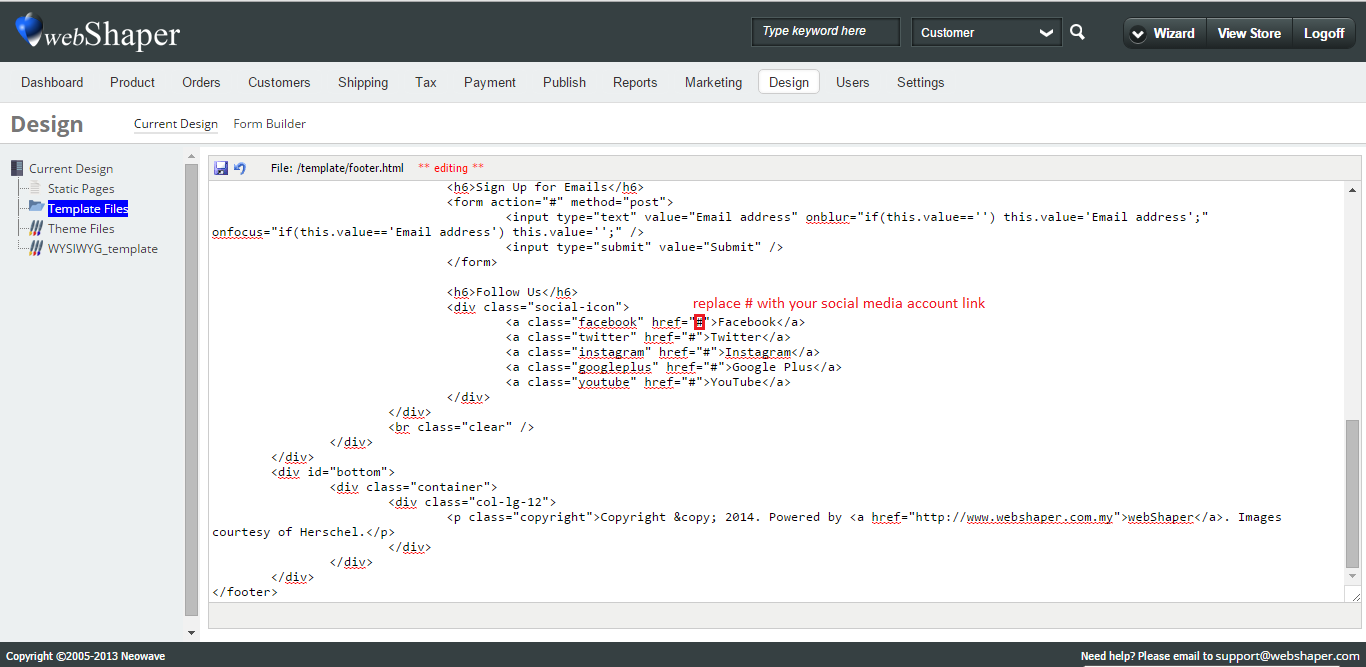
To edit the Follow Us section:
1. Go to Follow Us section of the code.

2. Every <a> can be linked to your social media account. Based on the image above, we have five different links that will lead customers to your Facebook, Twitter, Instagram, Google Plus and YouTube page.
2. Every <a> structure is standardised whereby it will first include the link and then the name of the link to your social media account. You will need to make changes to the codes here based on the image below.
To edit the Copyright section:
1. Go to Copyright section of the code.
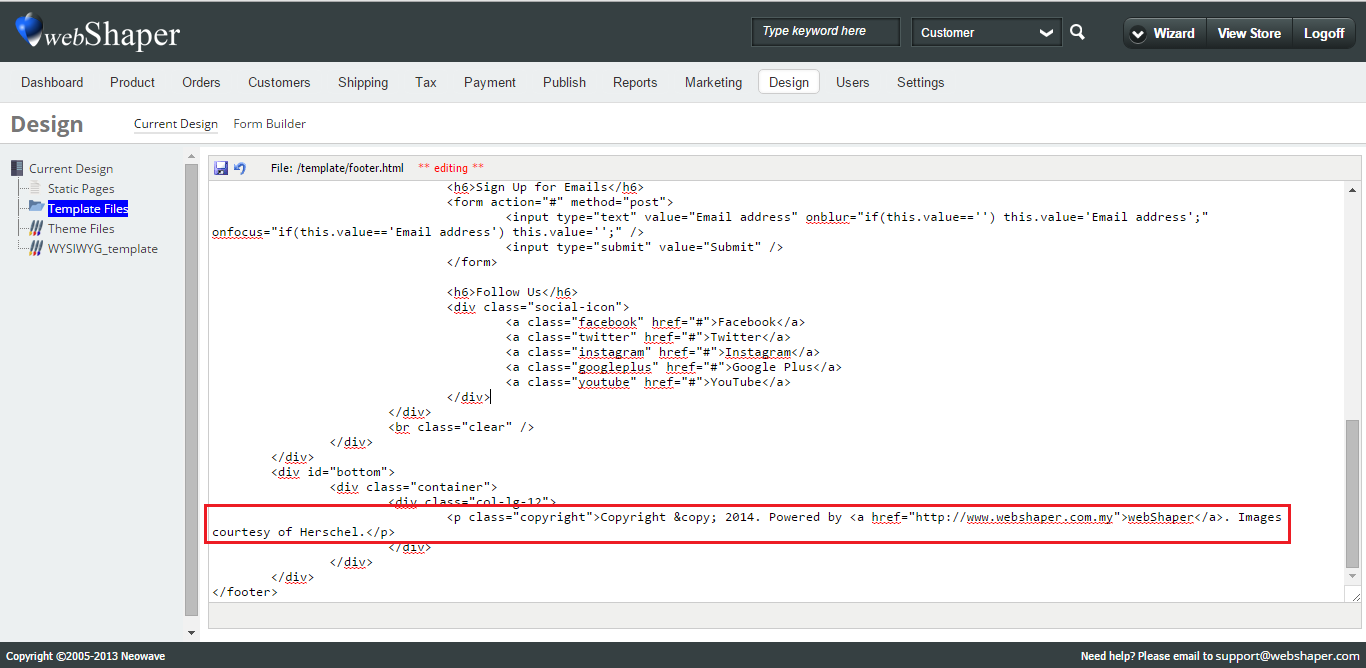
2. You will need to make changes to the codes. You can insert your desired text in between <p class> and </p>.