To manage your brands please follow these steps:
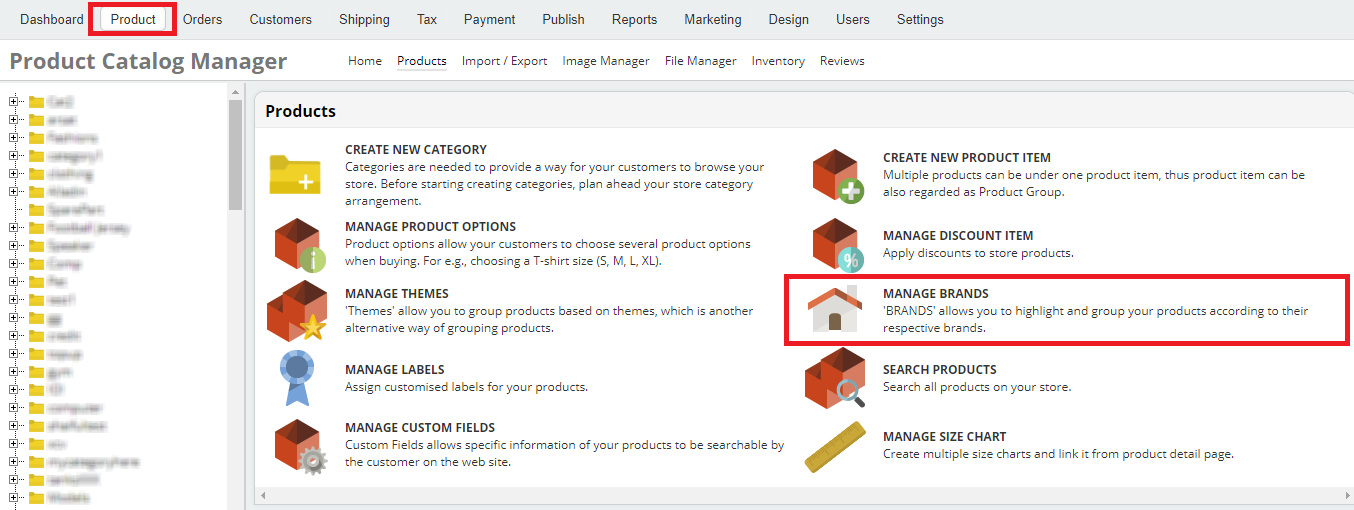
1. Click on Products and then proceed to Manage Brands.
2. The heading titles refer to the following:
- Brand Name: is the name of the brand that you created.
- Image: is the image you will upload.
- Description: is the brand description.
- Order: is the order the brands will be displayed on your page.
- Action: will allow you to either edit or delete the brand you created.

3. Arrange Brands: Arrange brands either Name (A-Z) or Manual.
4. Update Order will help you organise your brand by name or number.
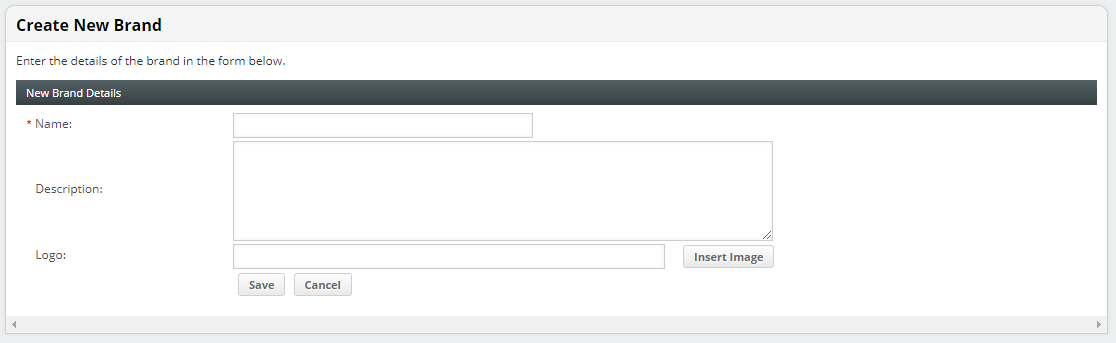
i. Click on Create New Brand and fill in the details.
*Note: On Description section, you can only insert up to 250 characters only.
ii. Click on Config, this will control how you wish to view your brands on your page.

5. You have now created and organised your list of brands. The next step is to assign brands to your products. You can carry this step out in two ways:
i. When creating your product:
- Click on Product.
- Proceed to Create New Product Item.
- Then under Brand, please select one from the drop down list.
ii. After creating your product:
- Click on Product.
- Choose the respective product from the left hand side and click on Edit.
- Then on Product Item under Brand, please select one from the drop down list.
6. To view your list of brands on your website, please follow these simple steps:
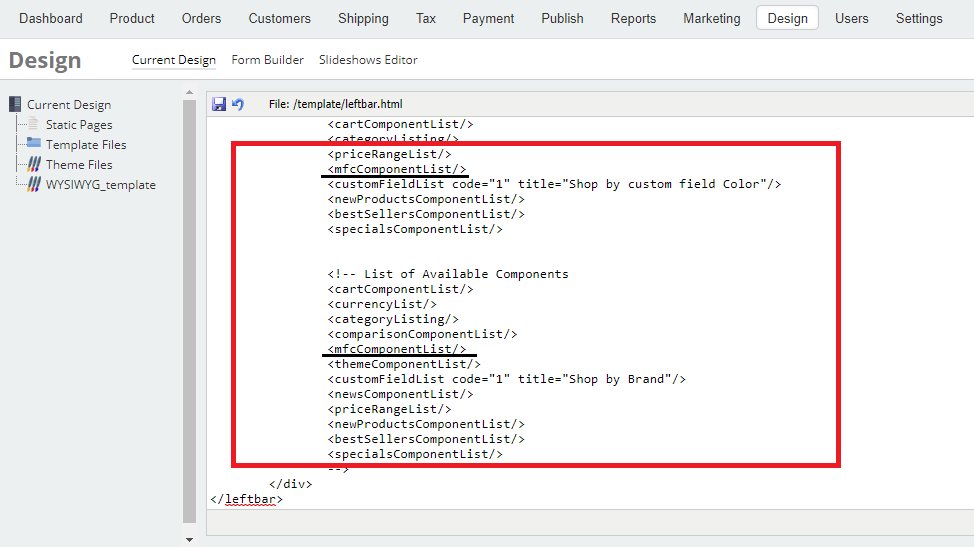
i. Click on Design, choose Template Files, then locate the leftbar.html page and click on Edit.
ii. At the end of the page, you will see : <!–<mfcComponentList/>–>, please remove the enclosing tags.
(It will look like this <mfcComponentList/>)