
Before you start with this tutorial, make sure you have done the steps on tutorial here.
Start chatting with your customers using Facebook Live Chat plugin!
1. Go to Facebook Developer’s page.
2. Go to your Facebook Apps.
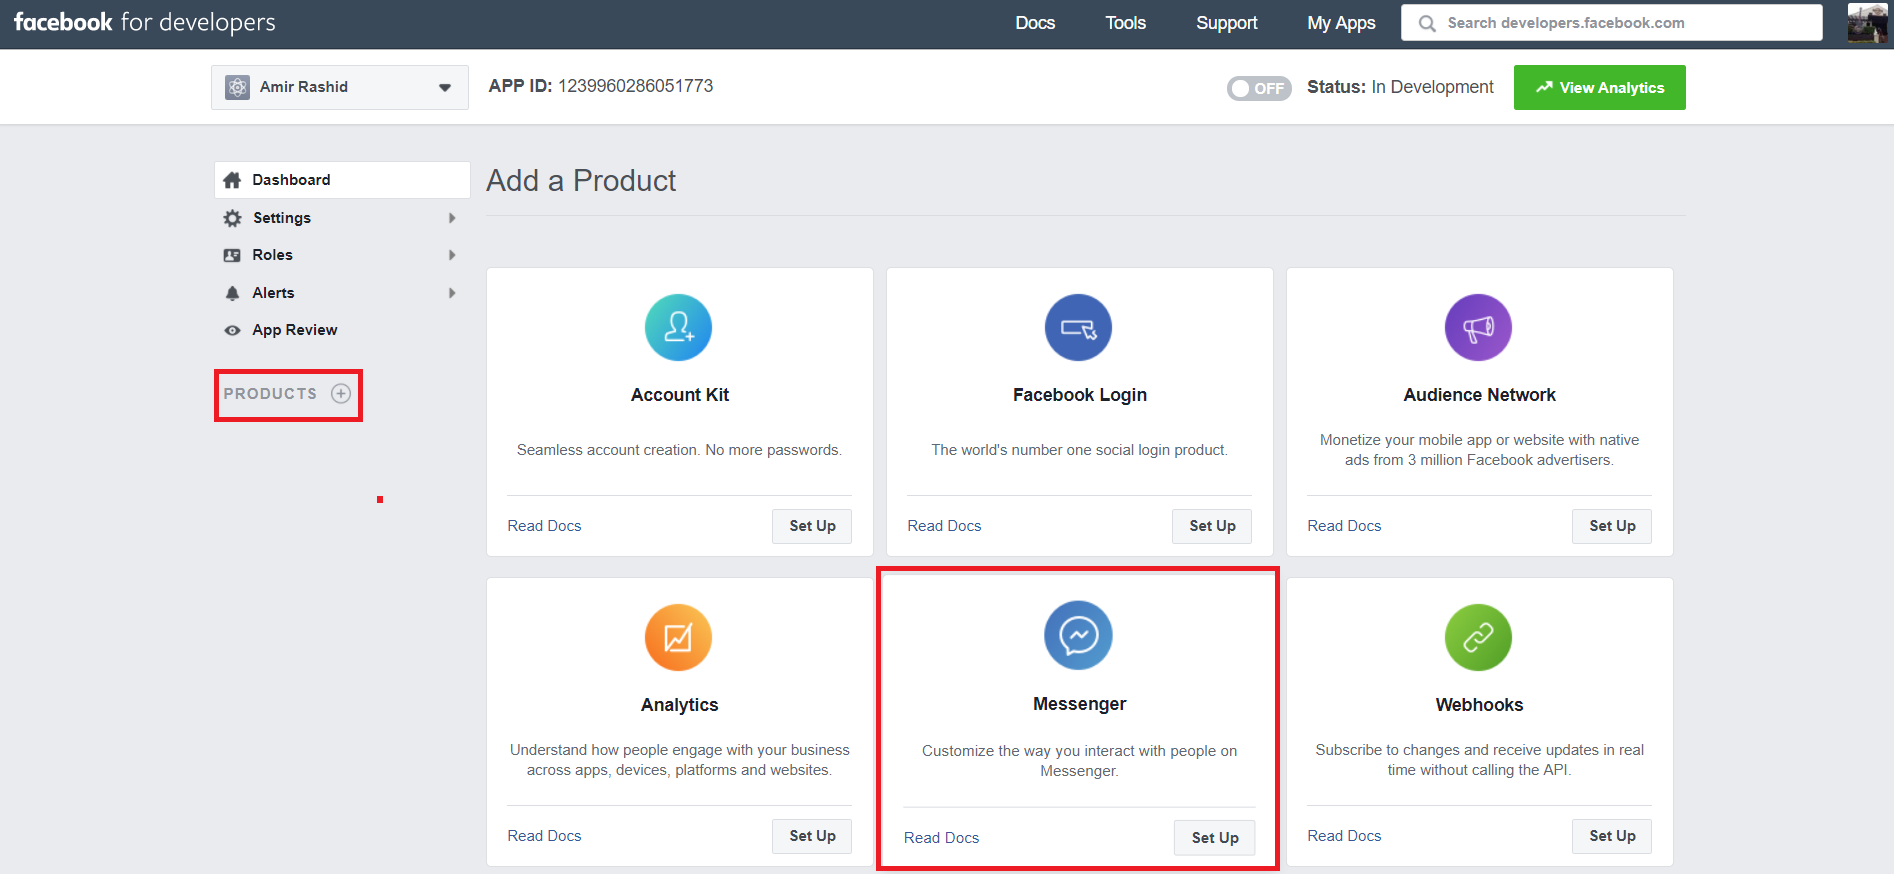
3. Click Products.
4. On Add a Product section, go to Messenger and click Set Up.
5. Scroll down and click Page Settings.
Note: If you click on Page Settings and does not redirect you to Messenger Platform (Step 6), please open your Facebook page account and click Settings. Then, go to Messenger Platform.

6. Click Messenger Platform.

7. Scroll down and find Whitelisted Domains.
8. Add domain(s) (https://www.storename).
9. Click Save.

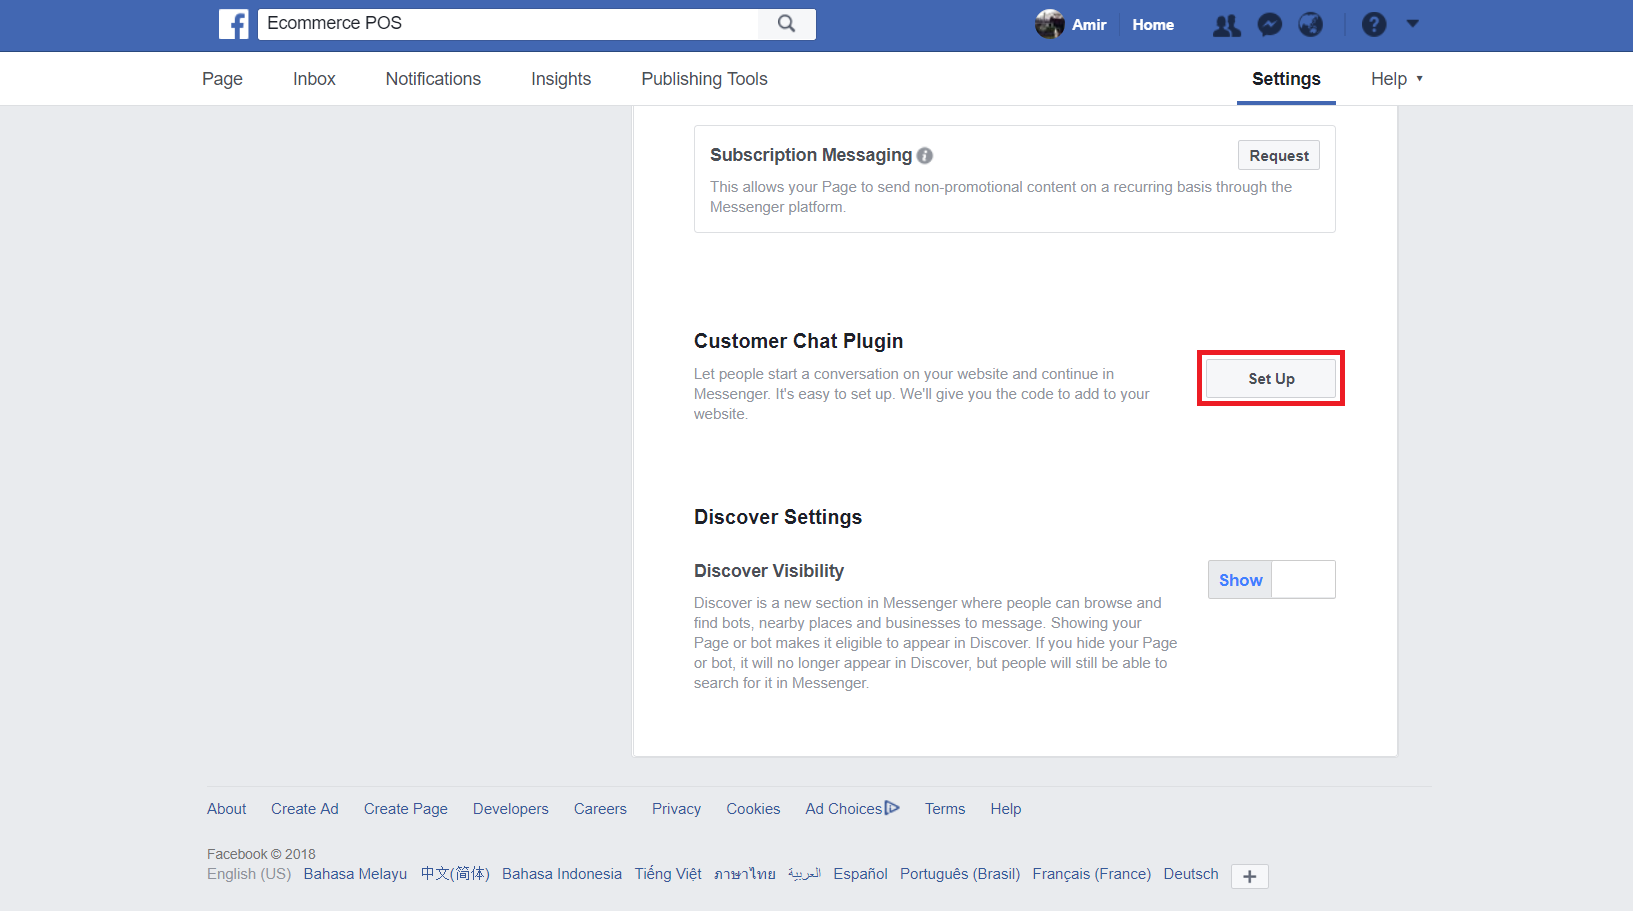
10. Scroll down and find Customer Chat Plugin.
11. Click Set Up.
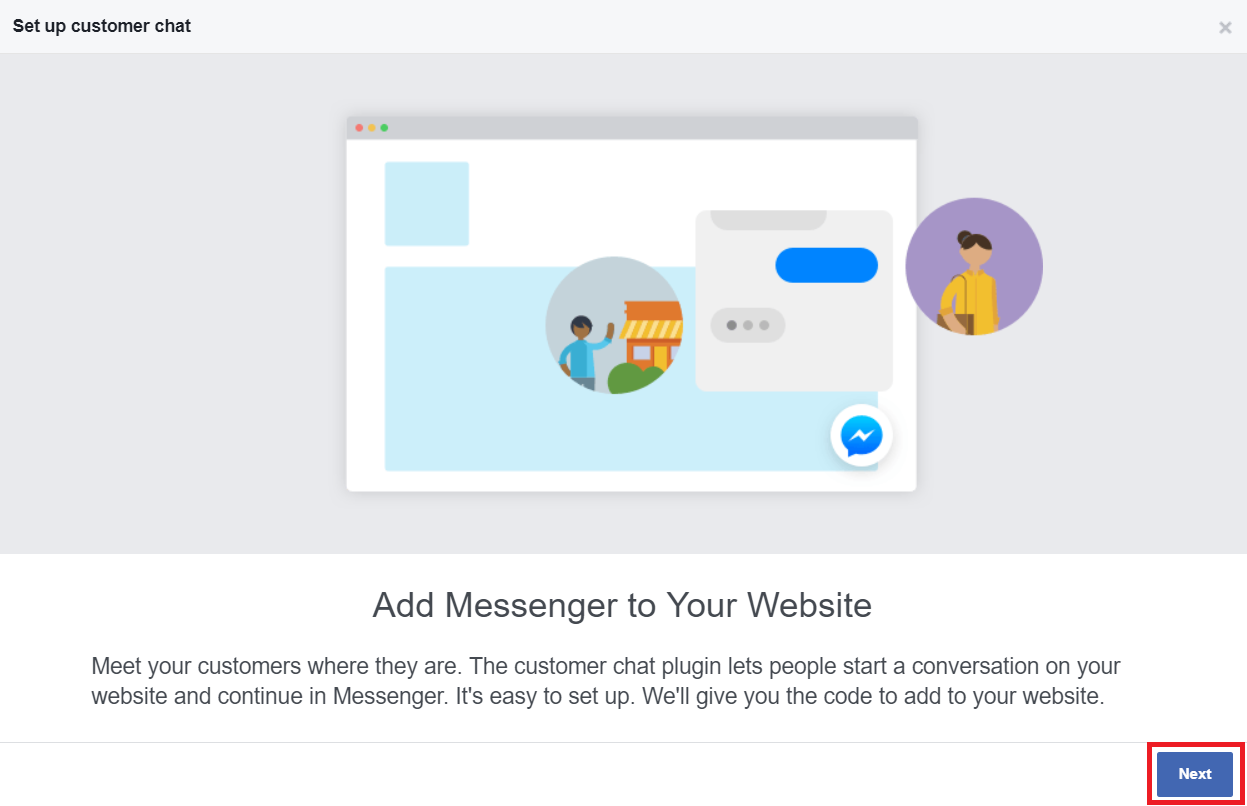
12. Click Next.
13. You can edit Greetings message.
14. Click Next.

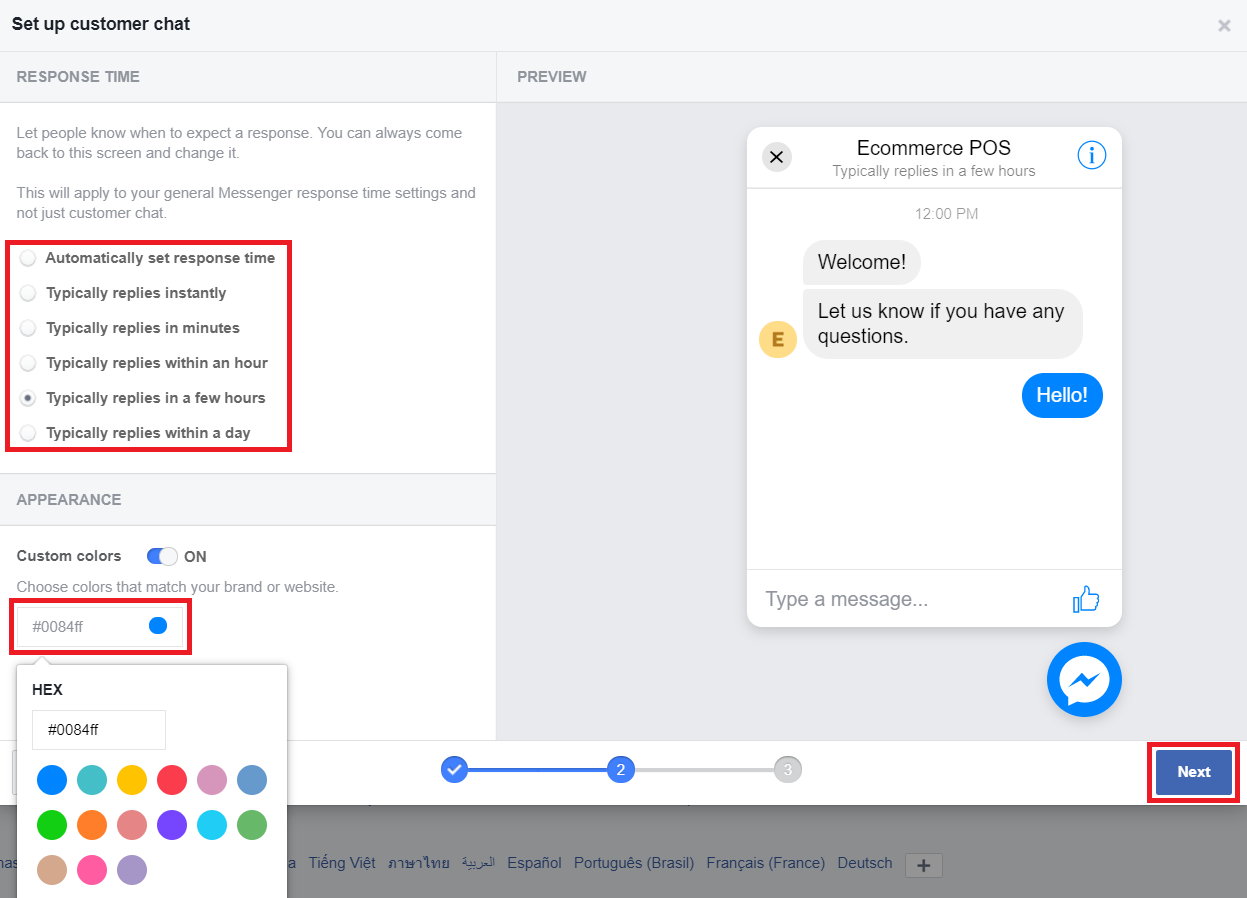
15. You can choose your message Response Time.
16. You can also Custom Colors your messenger icon.
17. Click Next.
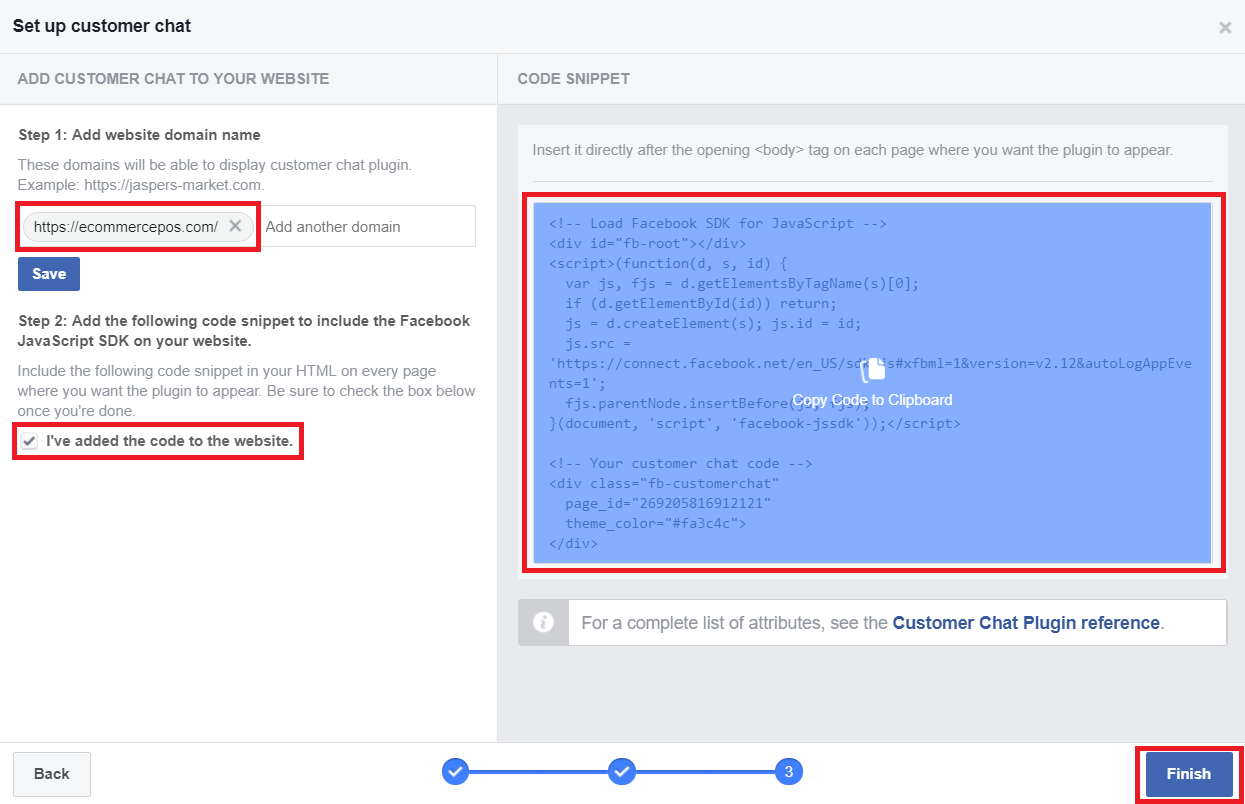
18. Add website domain name with SSL. (https://domain/)
19. Tick added code to the website.
20. Click Copy Code to Clipboard to copy the code.
21. Click Finish.
22. Login into your webShaper store control panel.
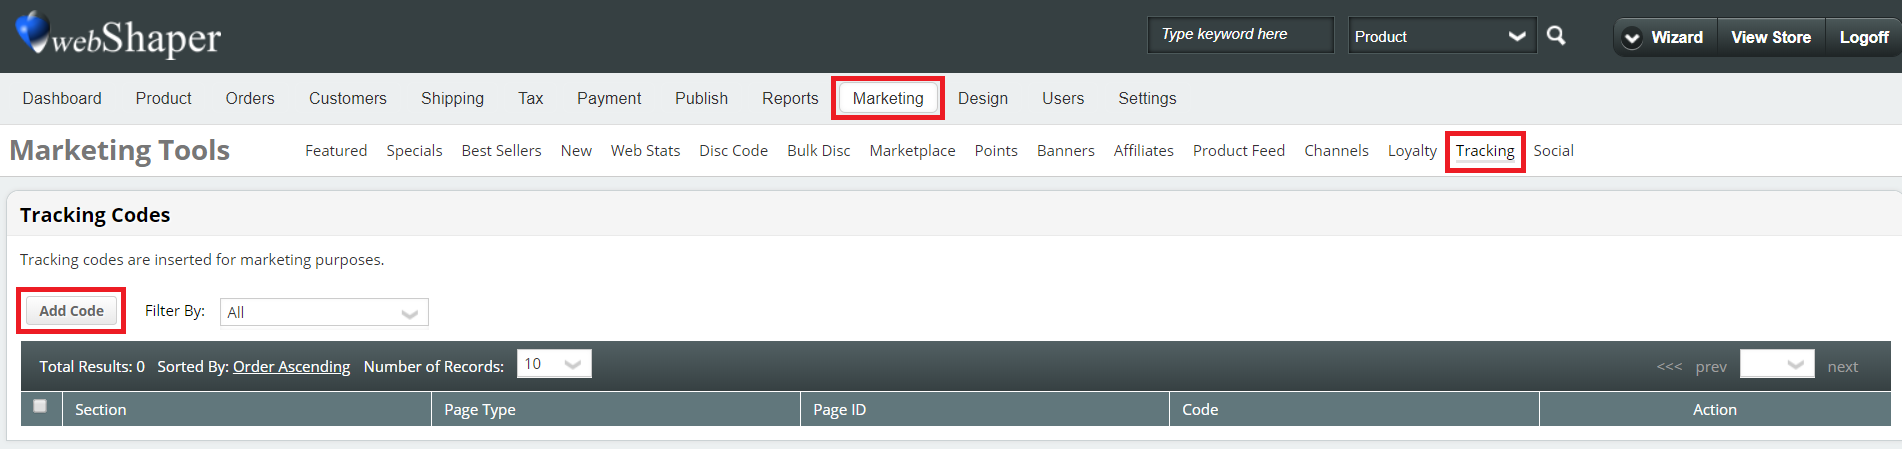
23. Click Marketing.
24. Click Tracking.
25. Click Add Code.
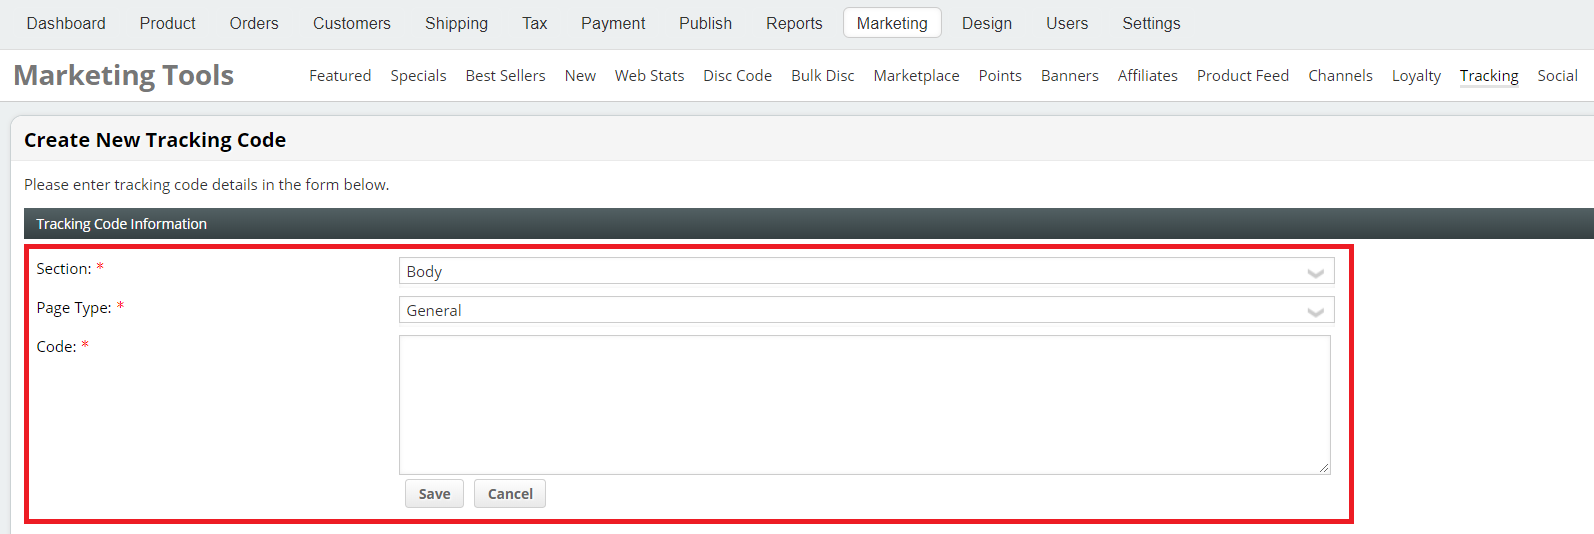
26. On Tracking Code Information, change Section from Header to Body.
27. Paste the code on Code field.
28. Click Save.
29. You can see on you store front the Facebook Live Chat now activated.
Your customer have to Log in to their Facebook Messenger to start chat.

30. Your customer can send message using Facebook Live Chat by click Chat Now.

31. Your customer can start chatting by type any message. (e.g. Hello…)
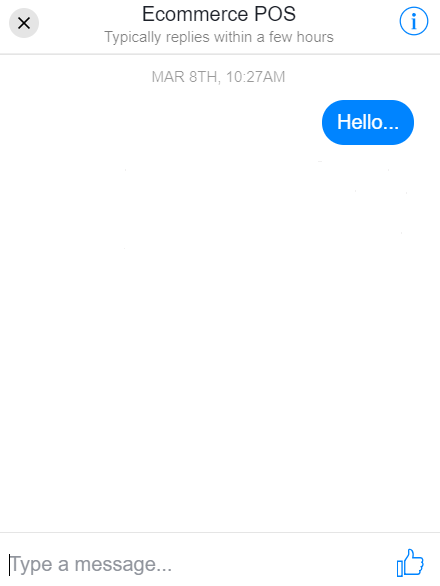
32. You will received their message on your Facebook Messenger account.
